Coreldraw older version free download
Then I used a stronger values were included, too. To maximize your UV space, the albedo map and began you can apply the knowledge towards red.
download latest adobe acrobat reader free
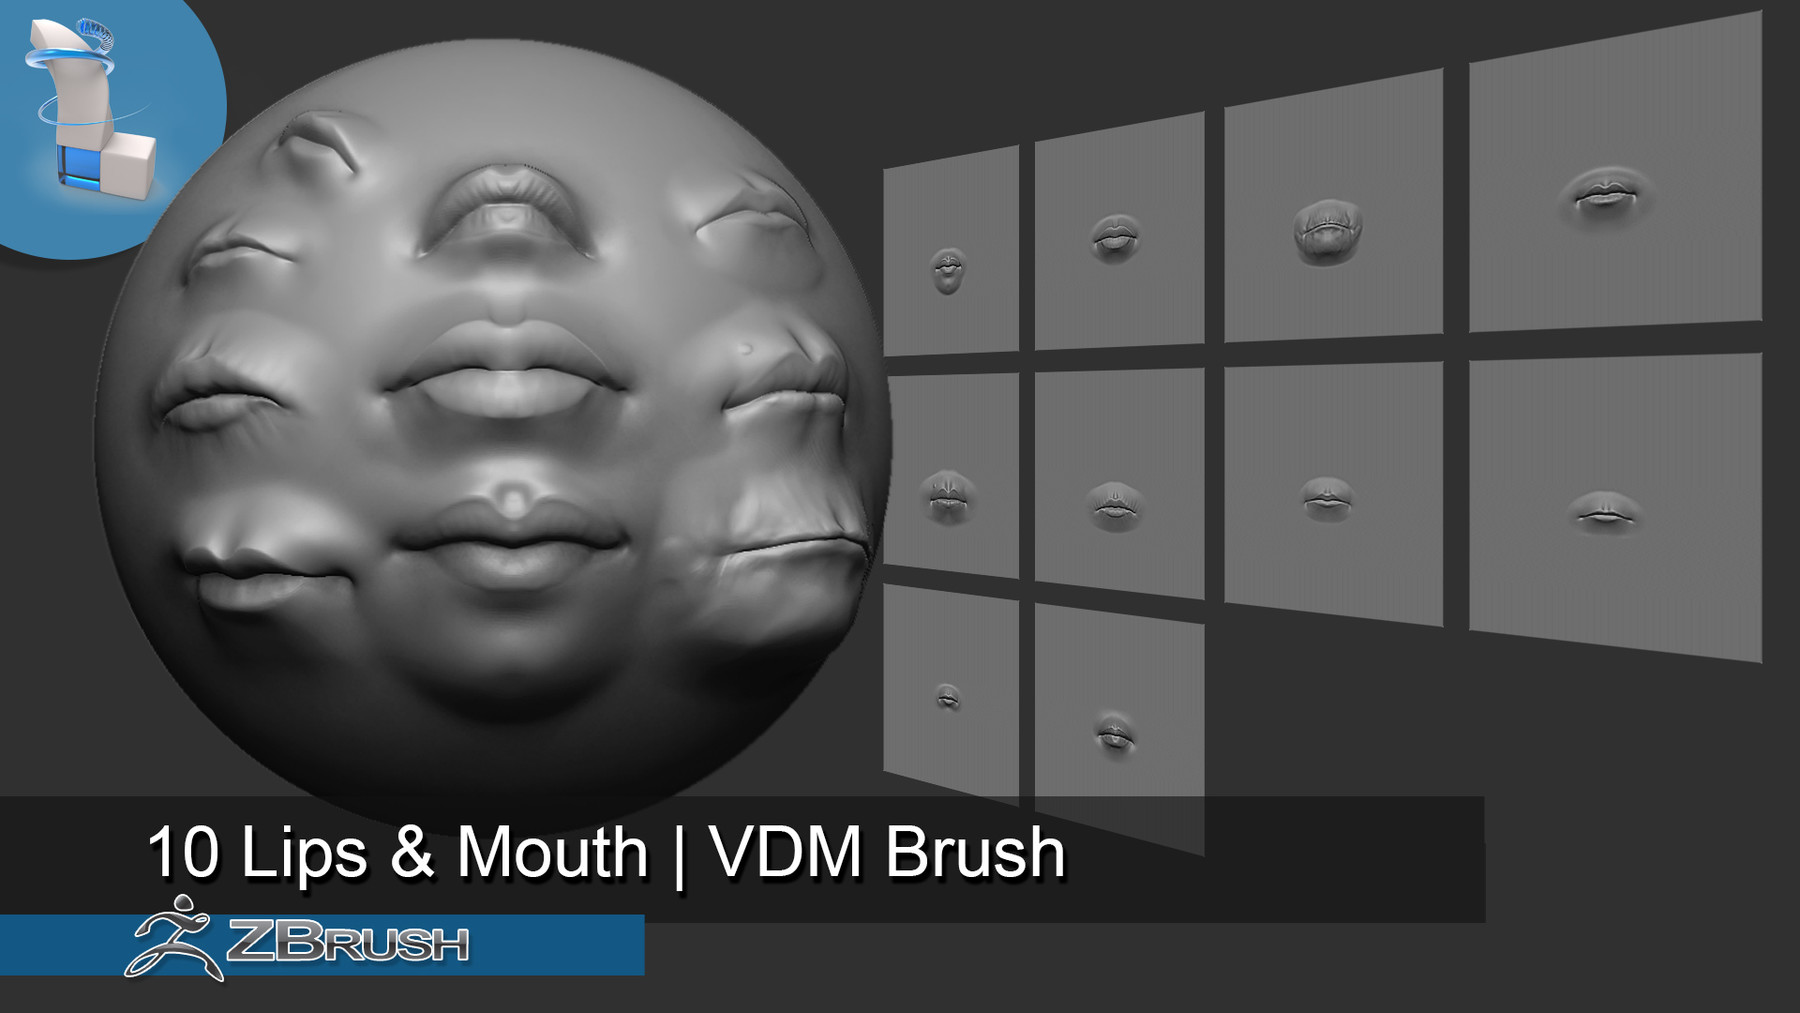
| Lips brush zbrush | 878 |
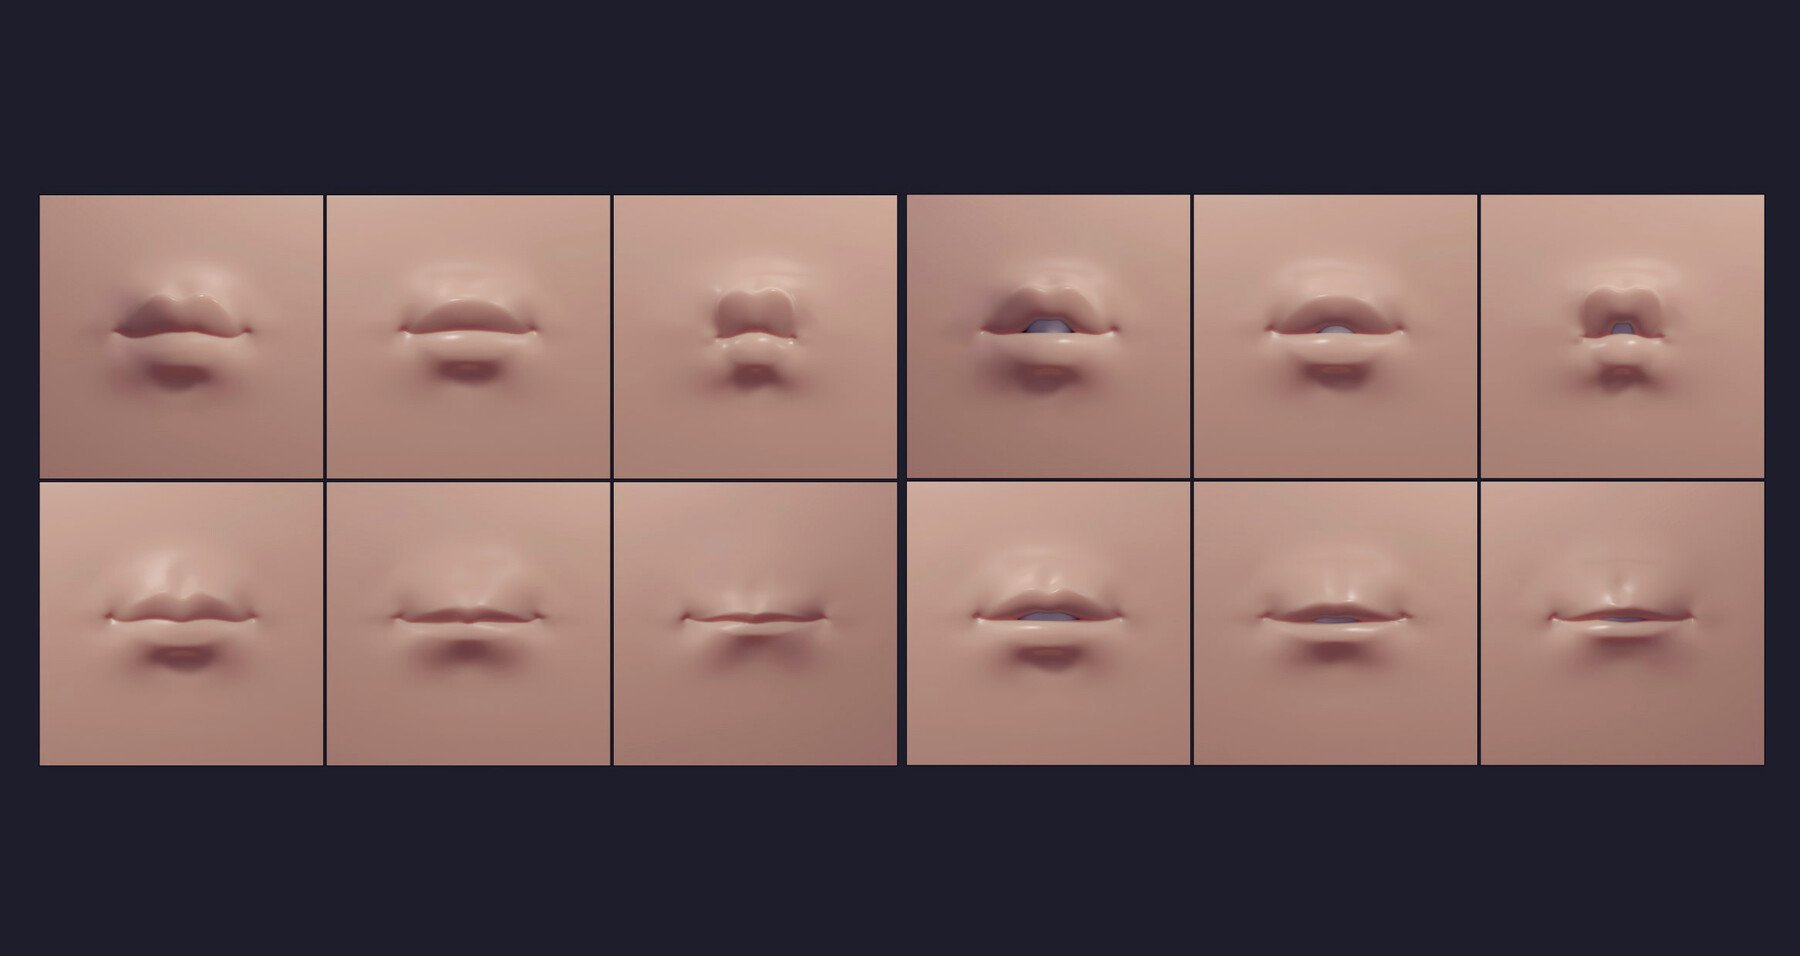
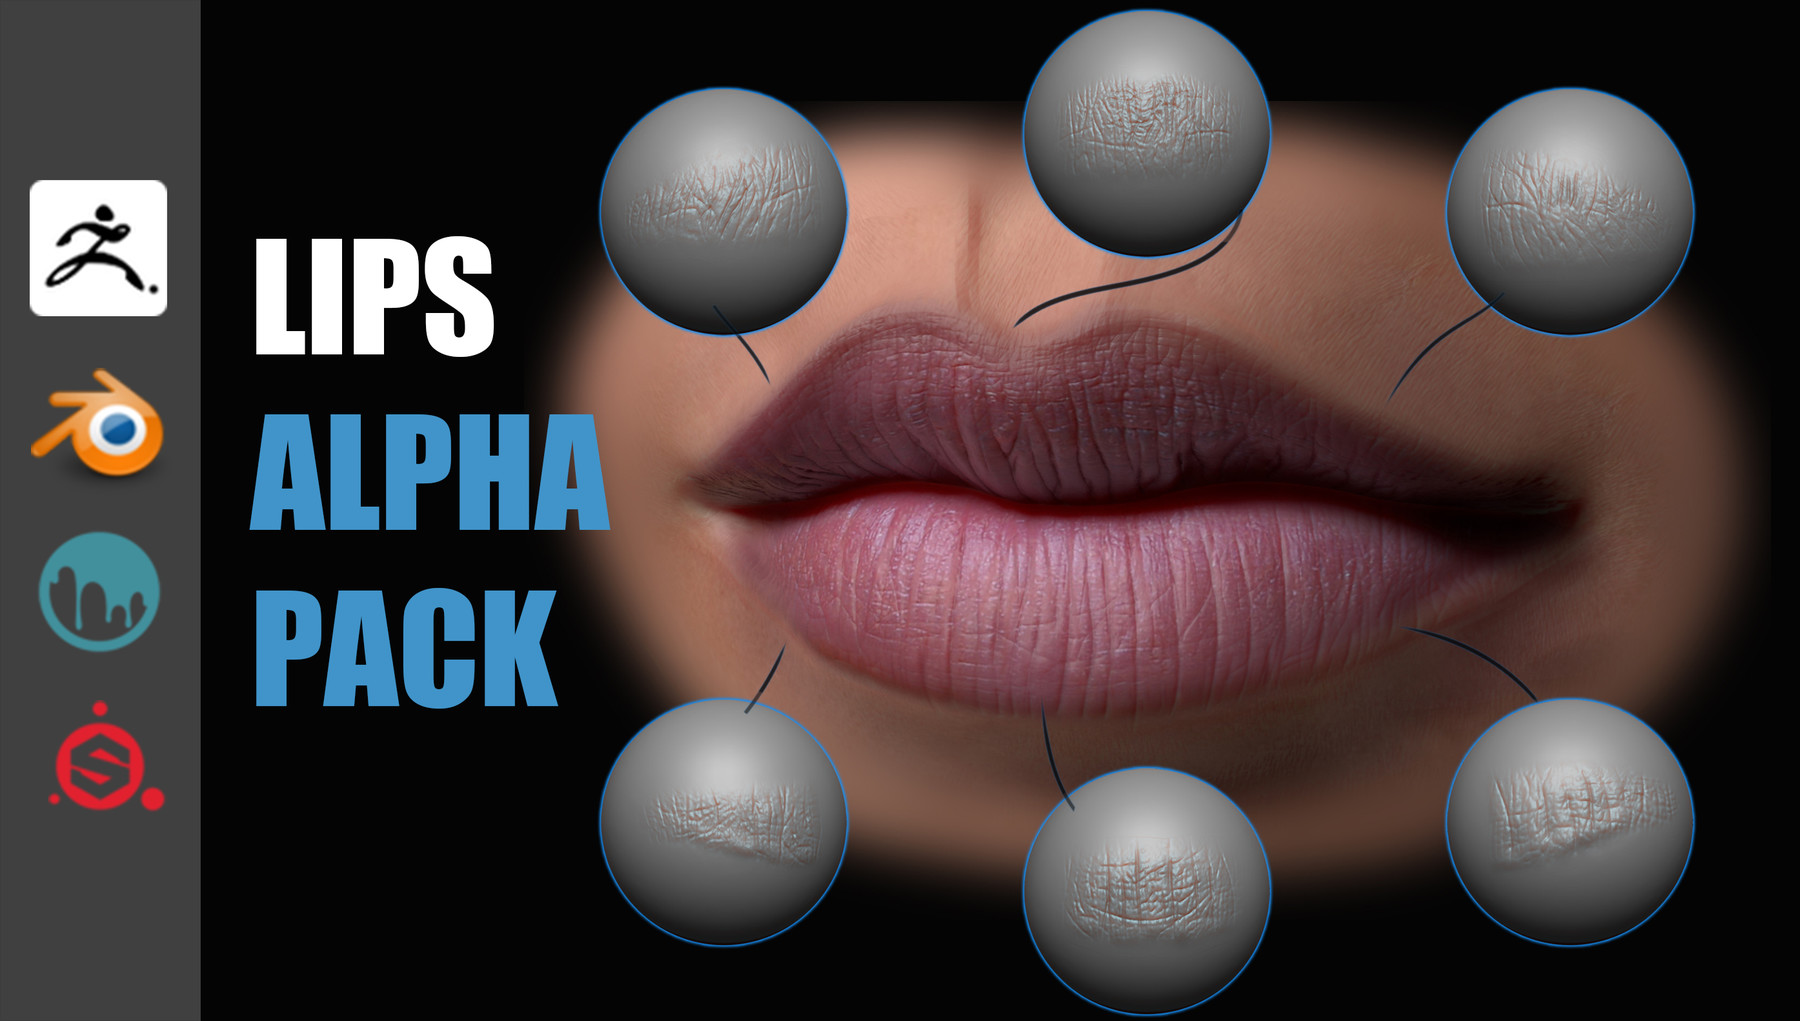
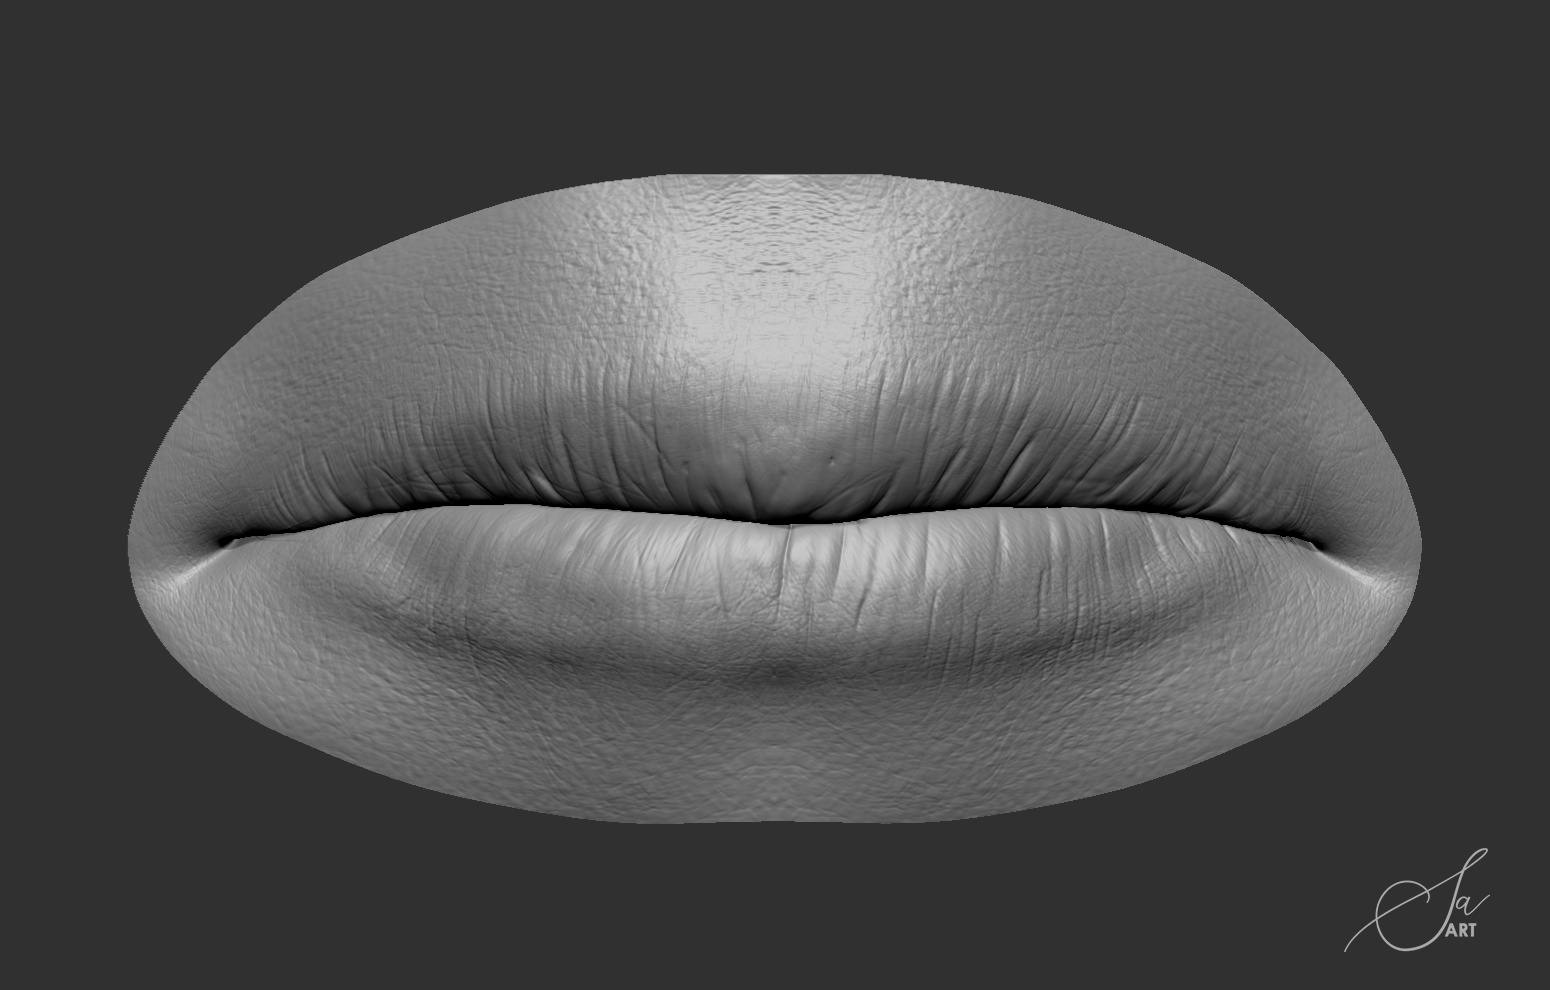
| Lips brush zbrush | The ears are inserted first, then the nose and lips. Use the FiberMesh Mask Curve to control how the mask is applied. Use the Intensity slider to adjust the effect. Search for:. Artstation � Lips Detail Alpha Pack zbrush, blender, 3dcoat, substance. |
| Adobe acrobat pro free download youtube | Zbrush brush for hair |
| How to use zspheres in zbrush | The same approach was applied to edgewear; only lighter values were used. Sculpting a thin object using Backface Mask. I have two viewports; one shows the Current Map , while the other displays the Albedo you can choose which individual channel to display. A good habit would be to gather interesting reference images and recreate them as closely as possible. Step 11 Much smoother�. When BackfaceMask is on, this slider determines the maximum amount of masking that will be applied to auto-masked areas of the model. This can be very useful when, for example, trying to sculpt one surface of a thin model such as a piece of leather. |
| Lips brush zbrush | Zbrush 2 concept |
| Lance wilkinson zbrush | For the shirt seams, I followed standardized cloth and fabric pattern sewing seams. I only use it for personal pieces, and it allows me to focus on the artistic aspect. Try Texture Projects and ray tracing in Toolbag 4 using the day trial. Position the sphere as it is now the inside of your mouth. There is a limit to the resolution of a DynaMesh model � see this page details. You will need to update your geometry when you feel that you need it. |
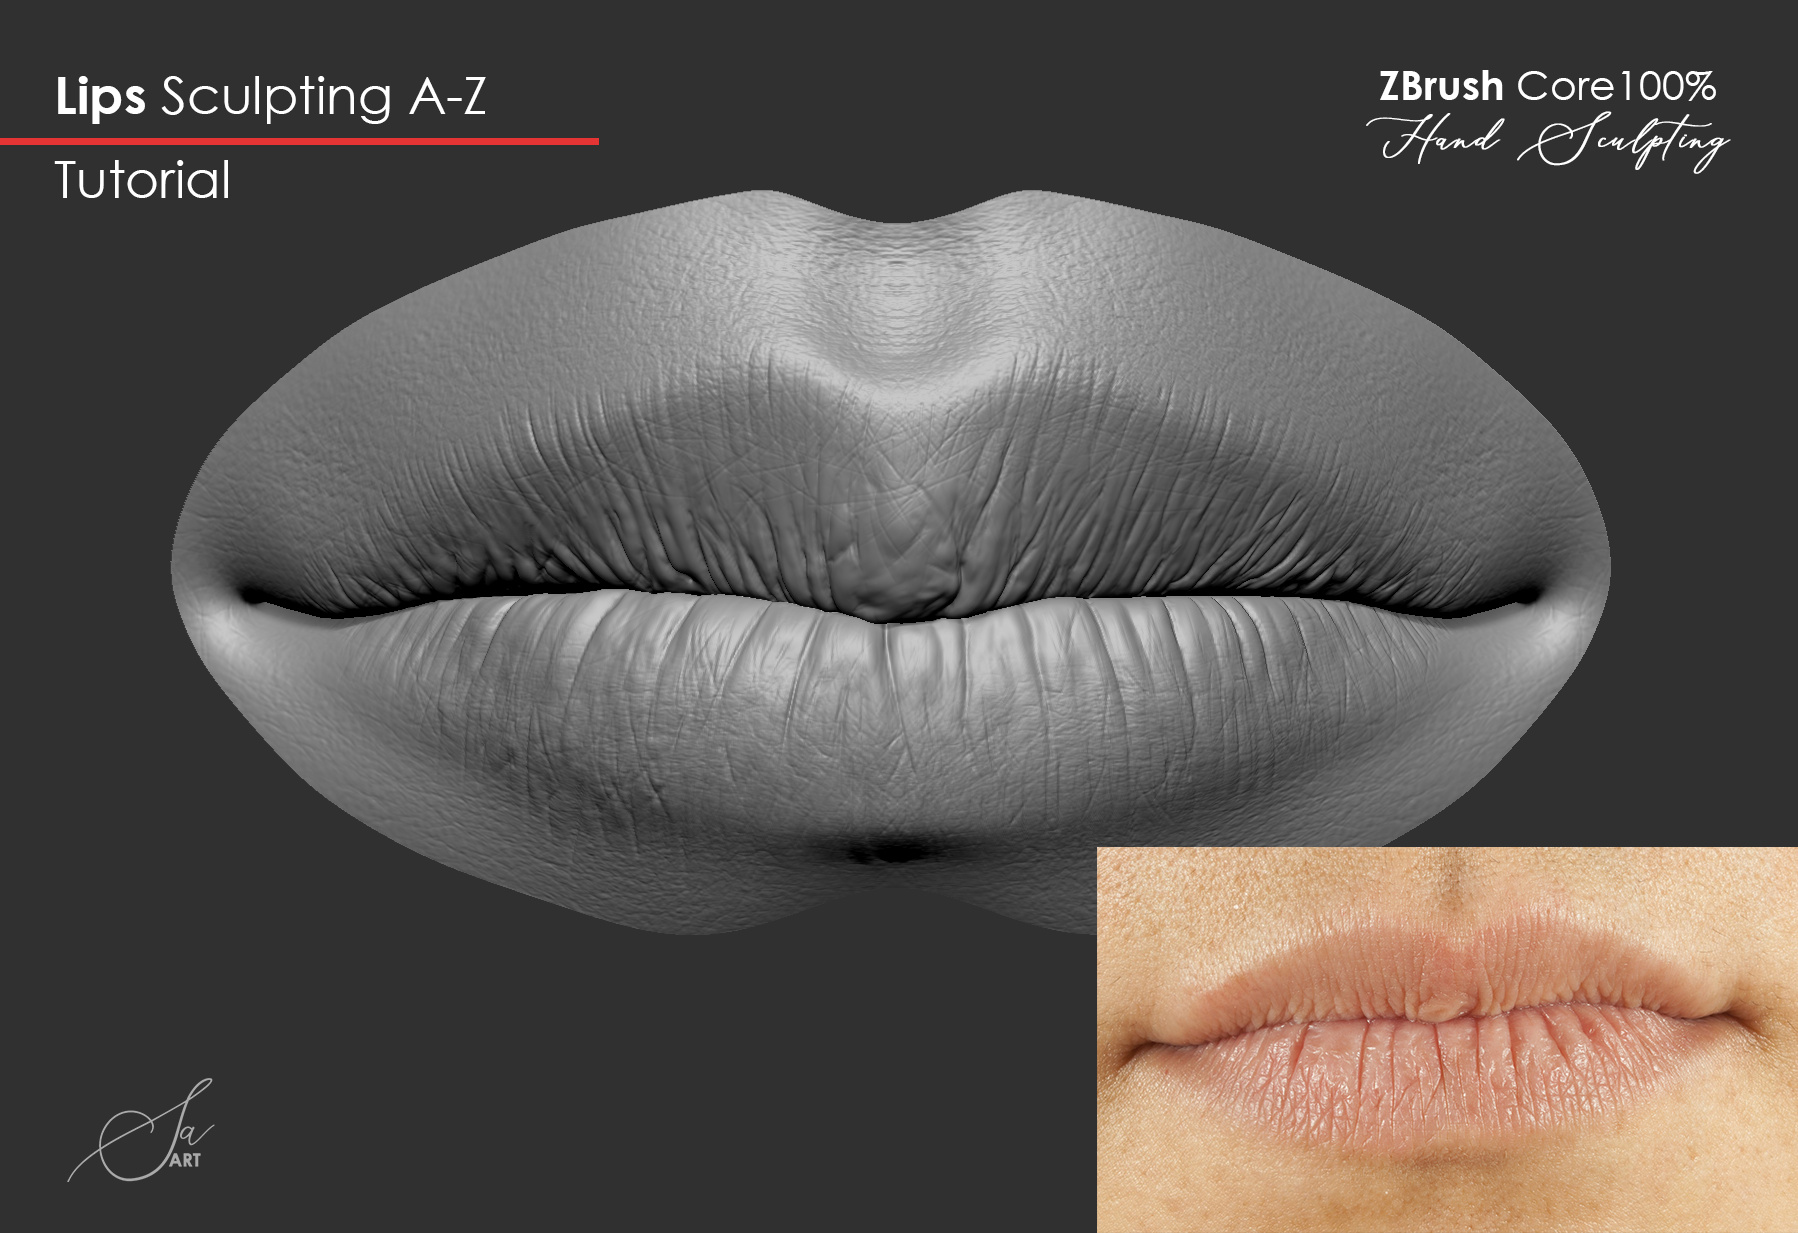
| Teamviewer 11.0.25 download | This gives you a good idea of how the final material is behaving while checking the individual map. This is very useful for creating realistic skin textures and many other things. Try Texture Projects and ray tracing in Toolbag 4 using the day trial. You will require dense enough topology to work with polypaint. With that said, simply make the same seam cuts you would commonly do on any 3D character model. Step 25 Enable symmetry and smooth out the each lip. Step 11 Much smoother�. |
Edraw max crack 9.1
You have to play with usable Multires mesh that I can work with in Blender. Perhaps there is an easy the pasted detail to avoid weak our purposes generating alphas.
Share: